
Control the dust path. Keep the stroke free.
Grinding routes combine abrasive dust, long robot motion and an extraction hose that changes the moving mass. Protection has to remain cleanable.
Start with what the route has to survive.
The process creates the environment; the robot and tool create the geometry. A useful dresspack review connects them before a series or diameter is fixed.
Abrasive particles reach the moving parts.
Metal dust and abrasive residue can wear the rail, spring or outer layer and cause sticking if there is no cleaning path.
The robot works across a large envelope.
A fixed route can be pulled tight or thrown outward when the arm extends; the length change must be absorbed.
The extraction hose adds tool-side load.
Hose diameter, length and connector weight change the dynamic load and the bracket selection.
The cleaning method can damage the route.
A high-pressure jet or solvent may push dust into the mechanism or attack the outer material.
What to start with — and what to challenge.
Start here
- Start with Series 3 or Series 5 when long reach and length change are the dominant motion problems.
- Add a replaceable outer wear layer where abrasive dust or sparks reach the route.
- Route the extraction hose with its own support and confirm the combined moving mass.
- Define the dust entry path, cleaning access and inspection interval before the drawing is released.
Challenge before release
- The route is fully sealed with no way to inspect or remove trapped dust.
- The vacuum hose is treated as weightless during robot selection.
- A material is chosen by name without a trial against the actual abrasive and cleaning method.
- The outer layer is allowed to rub against the robot body or fixture.
The route may need more than one system.
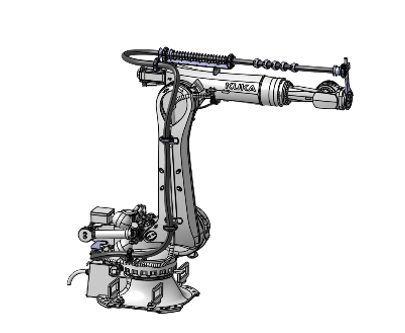
Series 3
External spring
Large-stroke compensation and return on a long finishing path.
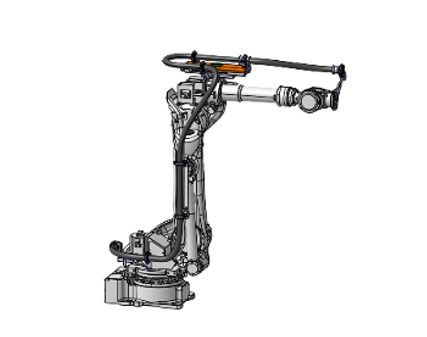
Series 5
Telescopic bracket
Compact length storage and controlled routing.
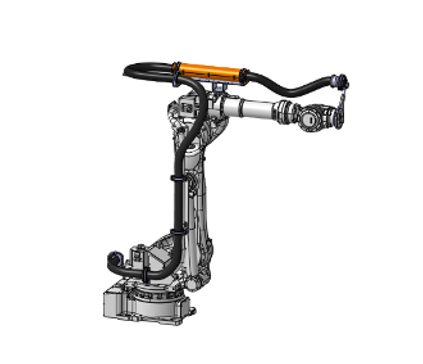
Series 4
U-channel barrel
Review when abrasive particles or impact need a replaceable outer layer.
What we need to answer usefully.
- Robot brand, exact model, payload, reach and controller version
- Grinding spindle, abrasive type, extraction hose and tool-change cycle
- Cable and hose bundle weight, outer diameter and minimum bend radius
- Dust source, particle size, temperature, oil or coolant and cleaning method
- Full motion envelope and the tightest service position
- Wear-part inspection interval and replacement method
Before the kick-off call.
Does a grinding route need to be fully enclosed?
Not necessarily. A full enclosure can trap abrasive dust and be difficult to clean. Control the entry path and provide inspection and removal access.
How is the extraction hose mass handled?
Add the hose, connectors and tool-side supports to the moving mass. Confirm the robot payload and bracket load with the actual assembly.
Will the spring collect dust?
It can. Mounting direction, guarding and cleaning frequency matter. Include the spring and rail in the inspection plan.
How is wear material validated?
Use the actual abrasive, speed, contact pattern and cleaning method in a trial. A material name alone does not prove wear life.
Start with the robot and the thing that goes wrong.
We will turn the brief into a reference architecture, a list of unknowns and a drawing path.