
Protect the bundle. Do not block the gun.
A spot-welding dresspack has to survive spatter and impact while leaving enough slack and access for the gun, the changer and the person who inspects it.
Start with the failure mode, not the parts list.
The process creates the environment. The robot and tool create the geometry. A useful dresspack review connects the two before a diameter or bracket is fixed.
Spatter path
Map where slag and sparks actually land. The outer structure must cover the high-wear zone without creating a new interference.
Tool change
Quick-change couplers, spare guns and gripper changes all alter cable slack. Check the full change cycle, not only the welding pose.
Service window
The outer layer should be inspectable and replaceable without dismantling the whole bundle. Design the access before the first shutdown.
Moving mass
A barrel adds structure and can shift the centre of gravity. Check payload, inertia and the complete motion envelope.
What to start with — and what to challenge.
Start here
- Start with Series 4 when spatter and impact are the dominant outer risks and the robot has enough payload/space for a barrel.
- Consider Series 3 or 5 when the same route also needs a large stroke, rebound or compact length storage; combine the functions instead of forcing one series to do all three.
- Treat Series 2 or 1 as a motion or fixed-route starting point only after the protection review; they are not the automatic answer for heavy slag.
- Confirm the final diameter from the complete cable and hose bundle, not from the welding cable alone.
Challenge before release
- Do not copy a barrel configuration from another robot without checking the tool, wrist and J3/J4 anchors.
- Do not use the barrel as a substitute for a cable with the wrong bend radius or temperature rating.
- Do not release a weld-cell route without a tool-change and maintenance-access check.
- Do not assume every spot-welding cell needs the same outer geometry.
The route can use more than one architecture.
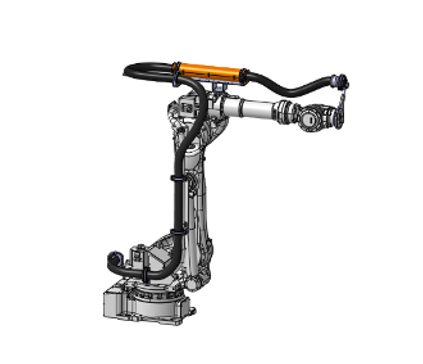
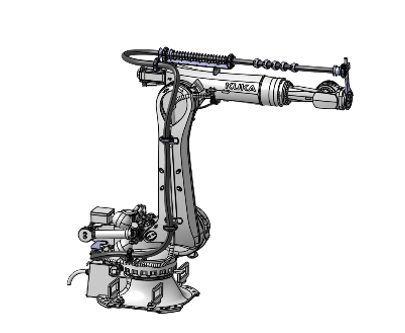
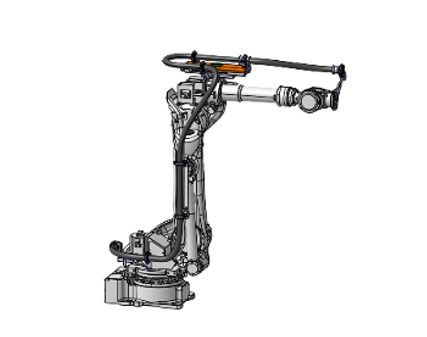
What we need to answer usefully.
- Robot brand, exact model, payload, reach and controller version
- Tool, gun, gripper or changer interface and its full motion cycle
- Complete cable and hose list with outer diameters and minimum bend radii
- J3/J4 anchor points and any existing bracket geometry
- Photos of the wrist, tool and current route; a motion clip if available
- Spatter, dust, temperature, cleaning method and maintenance window
Public context from the same process family.
 Spot + handling
Multi-process line, one interface logic
A KUKA-heavy automotive parts line linking spot welding and handling duties. The public configuration combines a Series 4 barrel with a Series 3 spring route across 49 robots.
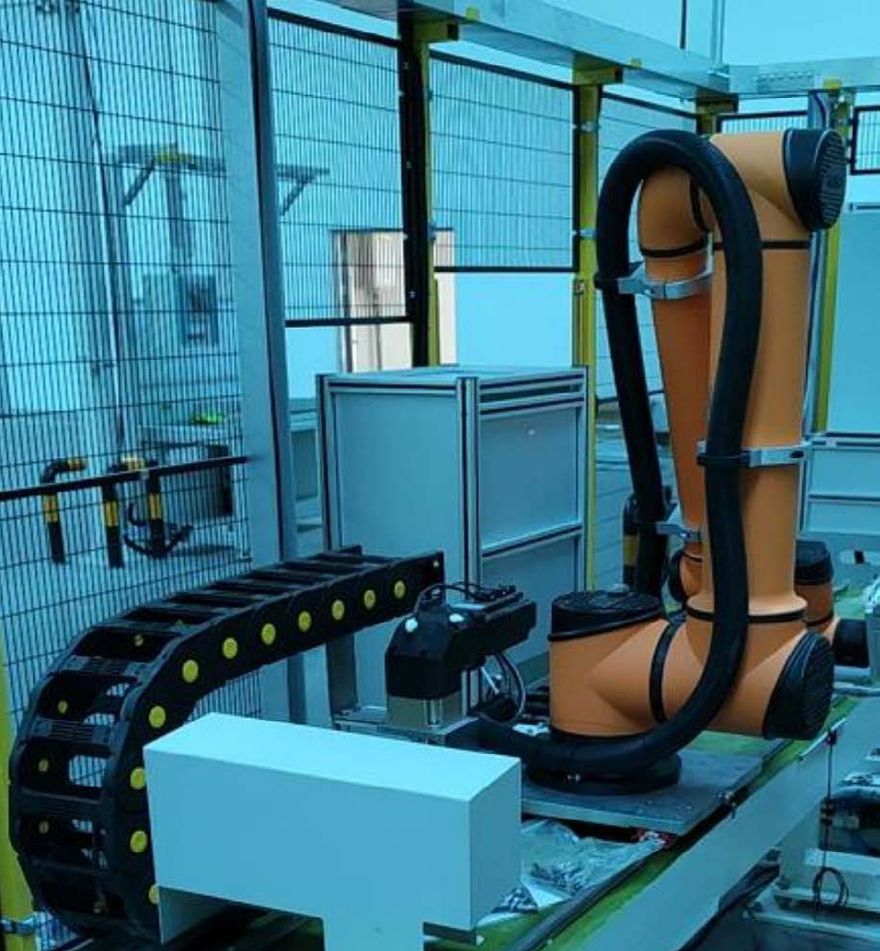 Steel spot
 welding with tool-change clearance
A high-density KUKA line where spatter protection and tool access had to coexist. The public record uses Series 4 for the outer protection route and Series 3 for spring compensation.
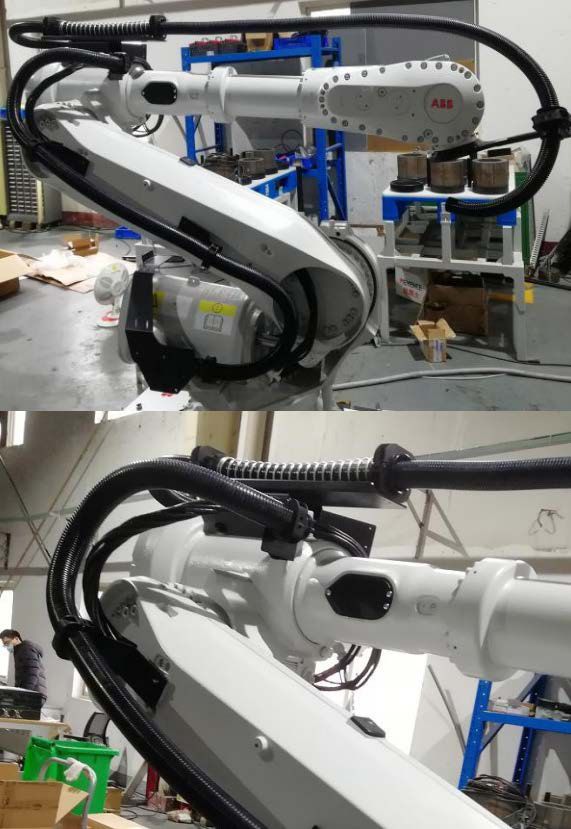 Quick change
Spatter protection around a quick tool change
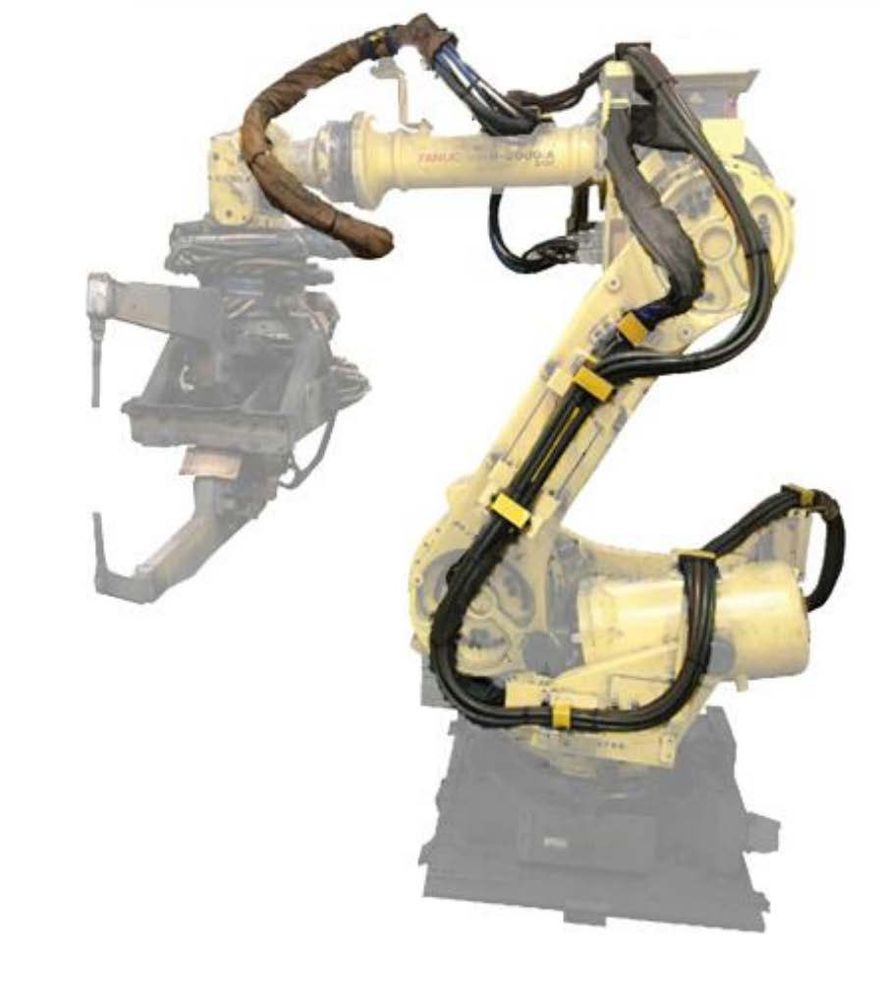
A FANUC spot-welding duty with a quick-change tool interface. The public configuration uses a Series 4 barrel; the engineering question is how the barrel behaves during the change, not only while welding.
Before the kick-off call.
Does a process name determine the series?
No. The process is the starting context, but the route also depends on the robot model, tool cycle, bundle and service access. A spot-welding cell can need a combination.
Can you start from a photo?
A photo can identify the layout and likely interference points. A drawing release still needs the robot model, tool interface and the complete motion envelope.
How long does a first review take?
The public model map gives an immediate reference. For a project-specific drawing direction, the inputs above are needed; drawing work is quoted against the actual scope.
Can the route be retrofitted?
Yes, retrofit is a valid route when the robot and tool can support it. Re-measure the interface and inspect the existing cable before reusing anchors.
Start with the robot and the thing that goes wrong.
We will turn the brief into a reference architecture, a list of unknowns and a drawing path.